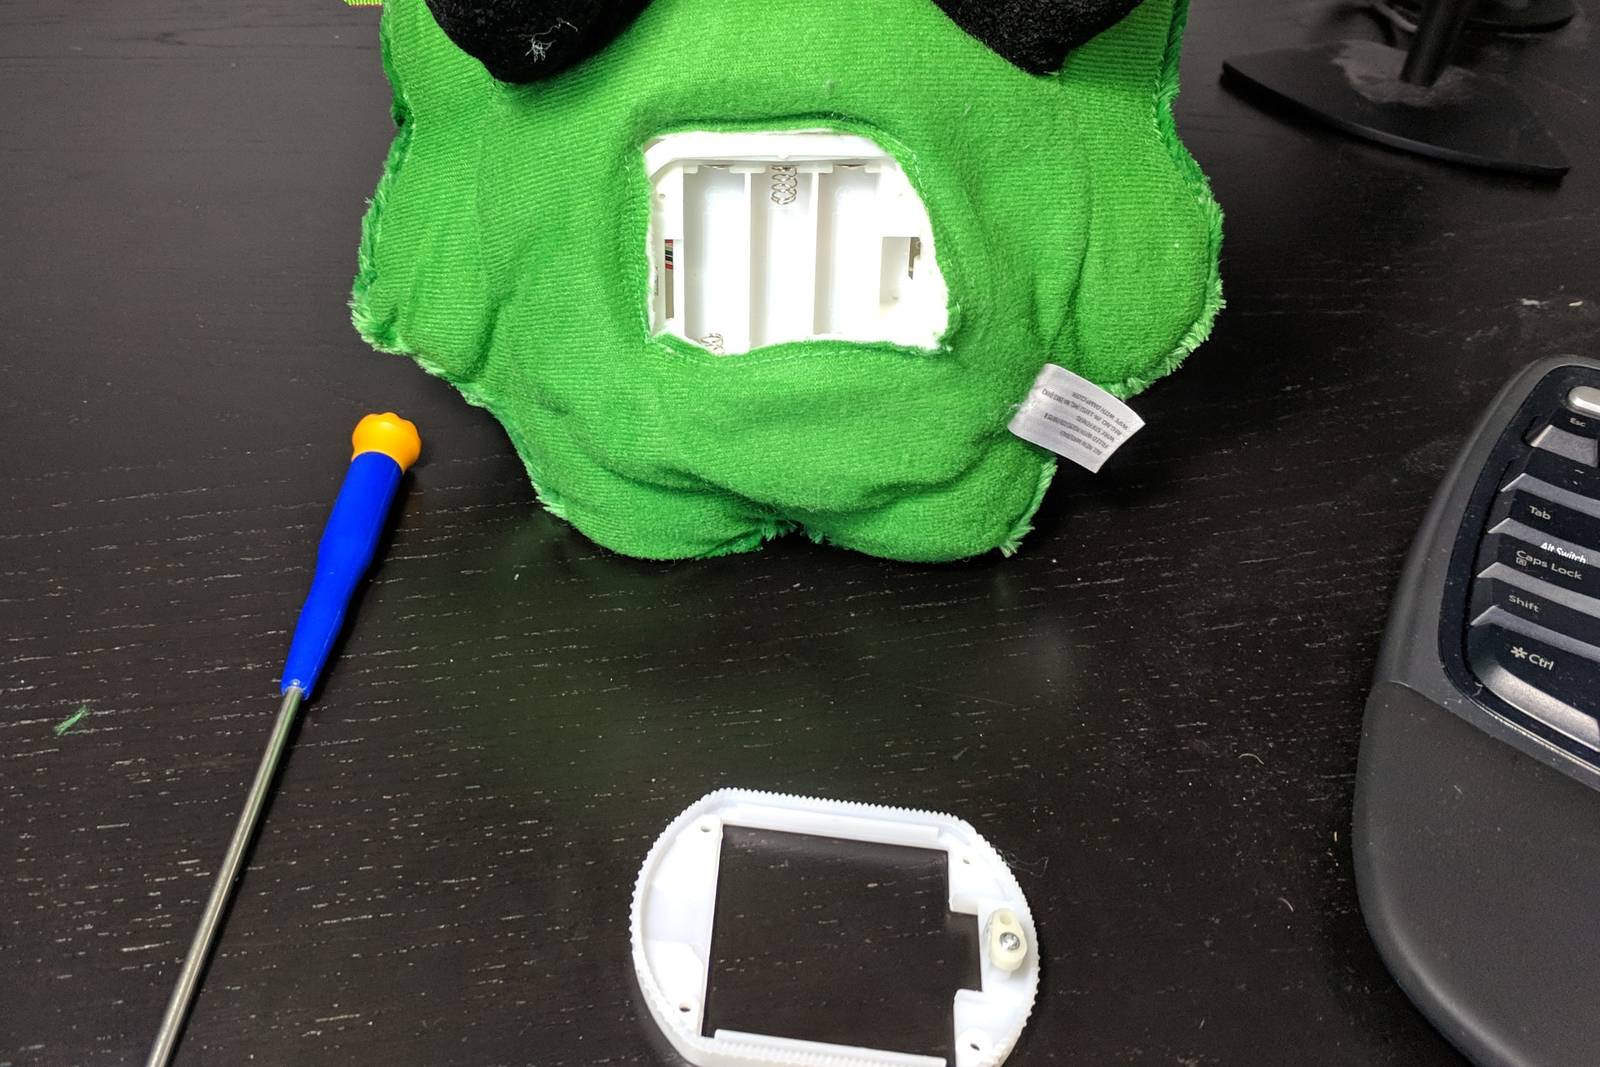
After removing the screw for the battery cover, the next piece to go is a clamp holding a plastic enclosure to the fabric. This is held in place with four screws.
This enclosure will need to come out of the tree somehow. The best way to do this is probably to rip the seams at the back, but I was worried about letting too much stuffing fall out so I cut just enough fabric to remove the enclosure.
The enclosure is attached to the tree’s head with a hidden screw. At the back of the tree, pull the bottom of the fabric towards its head, and the screw will be on a clear piece of fabric at the top of the enclosure.

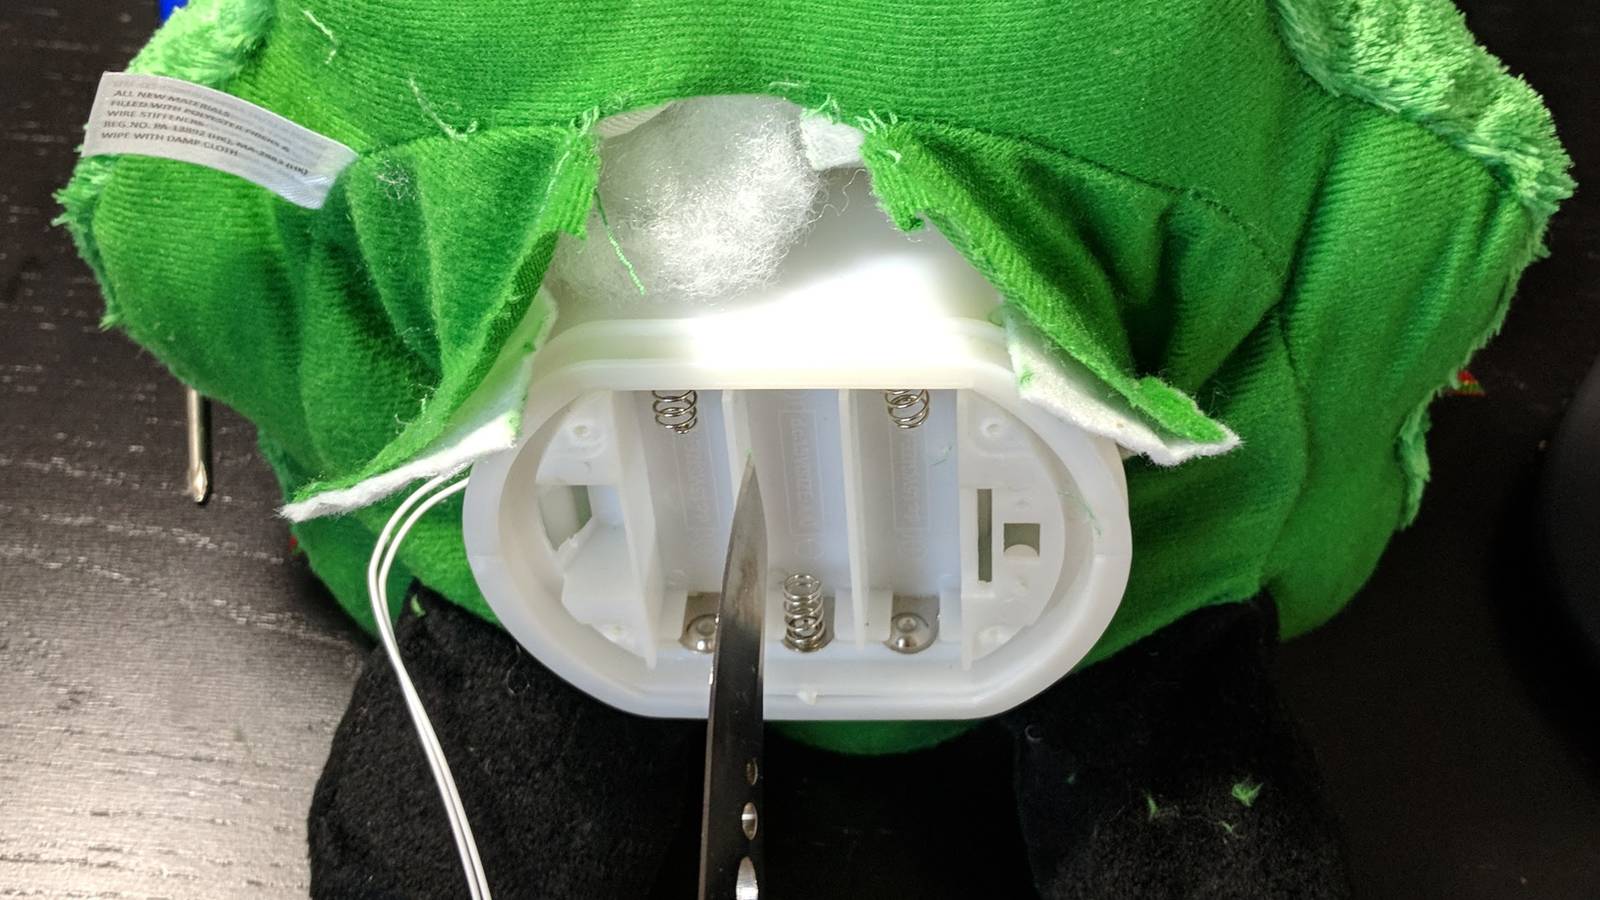
With this screw removed, the enclosure will freely come out of the tree. There are a few sets of wires attached to it: one pair of white wires for the push-to-play button, one multicolored set of wires for the LEDs, and red and white wires leading to the mouth. The button and LED wires have connectors, so disconnect them. The mouth wires do not have a connector, so I just had to be careful while working with the other parts.
The enclosure itself is held together with four screws and two small blobs of hot glue. Remove these to reveal the tree’s controller, dancing motor, and a speaker.
With the enclosure open, I was able to examine the components and probe the board while it’s running. The tree is powered by 3 AA batteries in series for a total of 4.5V. Dancing is controlled by one DC motor driven at 3.5V, and the mouth is controlled by another DC motor also driven at 3.5V. The dancing motor is in a gearbox that lets the tree dance continuously without ever needing to change motor direction. Similarly, the mouth seems to be on a spring that closes it when the voltage is removed to avoid the need for a servo. While I probably should have measured the motors’ current draws individually, when I powered the tree with a bench power supply, I saw that it never drew more than 2A total at 4.5V.